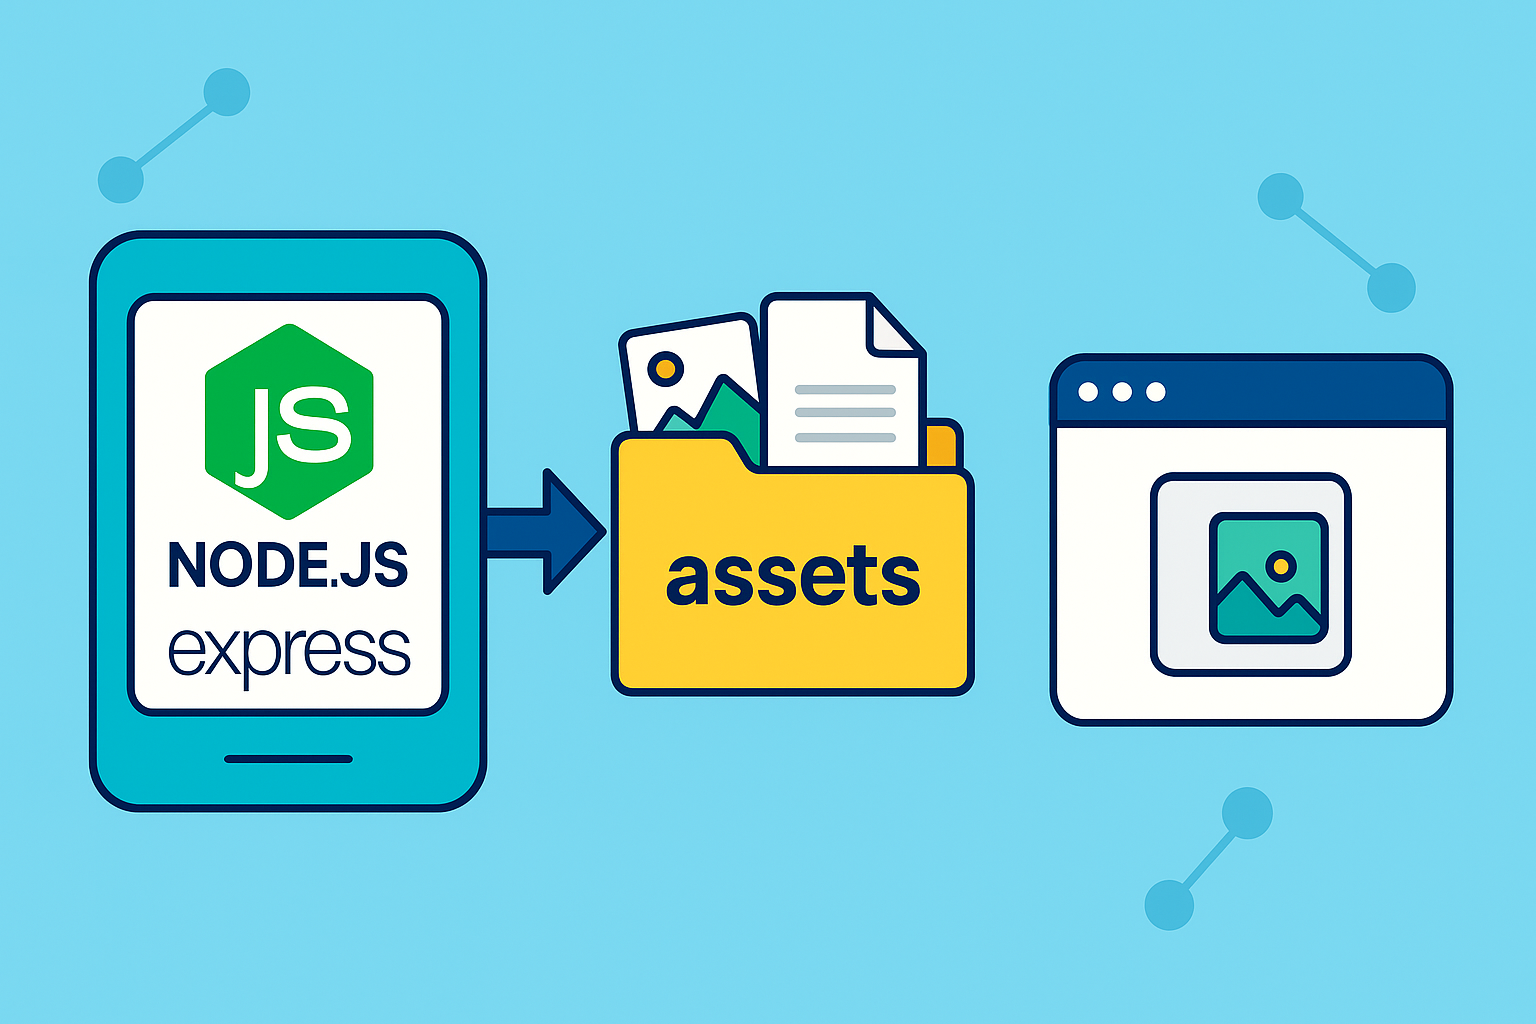
Khi phát triển web, việc host file assets như ảnh, CSS, JavaScript rất quan trọng để đảm bảo tốc độ tải trang nhanh và hiệu quả. Node.js kết hợp với Express là một giải pháp đơn giản, nhẹ nhàng và dễ dàng mở rộng.
Bài viết này sẽ hướng dẫn bạn cách tạo một ứng dụng Node.js sử dụng Express và TypeScript để phục vụ các file assets một cách chuyên nghiệp.
Các bước tạo ứng dụng Node.js + Express với TypeScript để host file assets
Bước 1: Chuẩn bị môi trường và khởi tạo dự án
-
Cài đặt Node.js (phiên bản mới nhất khuyến nghị)
-
Tạo thư mục dự án và khởi tạo npm:
mkdir my-assets-server
cd my-assets-server
npm init -y
Bước 2: Cài đặt các package cần thiết
Cài đặt Express và TypeScript cùng các typing cần thiết:
npm install express
npm install -D typescript @types/node @types/express ts-node nodemon
Bước 3: Tạo file cấu hình TypeScript tsconfig.json
Tạo file tsconfig.json ở gốc dự án với nội dung tối thiểu:
{
  "compilerOptions": {
    /* Basic Options */
    "target": "ES2020", // Set ECMAScript target version
    "module": "CommonJS", // Node.js uses CommonJS modules
    "lib": [
      "ES2020"
    ], // Specify library files
    "allowJs": true, // Allow JavaScript files
    "checkJs": false, // Skip checking JavaScript files
    "outDir": "./dist", // Redirect output structure to the "dist" folder
    "rootDir": "./src", // Specify the root directory of input files
    "strict": true, // Enable all strict type-checking options
    "moduleResolution": "node", // Use Node.js module resolution
    "esModuleInterop": true, // Emit helpers for CommonJS and ES modules interoperability
    "resolveJsonModule": true, // Support importing JSON files
    "noImplicitAny": false, // Disallow `any` type unless explicitly defined
    "strictNullChecks": true, // Ensure strict handling of `null` and `undefined`
    "strictFunctionTypes": true, // Ensure function type compatibility
    "noImplicitThis": true, // Ensure `this` type is explicitly defined
    /* Output Control */
    "declaration": true, // Generate `.d.ts` files for libraries
    "sourceMap": true, // Generate source maps for easier debugging
    "skipLibCheck": true, // Skip type checking of declaration files
    /* Compatibility */
    "types": [
      "node",
    ], // Include Node.js type definitions
    "typeRoots": [
      "./node_modules/@types"
    ], // Specify the root for type definitions
    /* Experimental Options */
    "experimentalDecorators": true, // Enable experimental support for decorators
    "emitDecoratorMetadata": true, // Emit decorator metadata
    "traceResolution": false
  },
  "include": [
    "src/**/*",
    "src/**/*.json"
  ], // Include all TypeScript files in "src"
  "exclude": [
    "./node_modules",
    "./dist",
    "*/node_modules",
    "**/tests/*.test.ts"
  ] // Exclude generated output and dependencies
}
Bước 4: Tạo thư mục và file source
-
Tạo thư mục
src -
Trong
src, tạo fileapp.ts
Bước 5: Viết code server Express với TypeScript
Trong src/app.ts:
import express, { Request, Response } from 'express';
import path from 'path';

const app = express();
const port = 4000;

// Thiết lập thư mục chứa file assets tĩnh
app.use(express.static(path.join(__dirname, '../public')));

// Route test
app.get('/', (req: Request, res: Response) => {
  res.send('Hello World! Server is running.');
});

app.listen(port, () => {
  console.log(`Server is listening on port ${port}`);
});
Bước 6: Tạo thư mục chứa assets
-
Tạo thư mục
publicở ngoài cùng (song song vớisrc) -
Đặt các file tĩnh của bạn (ảnh, css, js) vào thư mục này
Ví dụ:
my-assets-server/
│
├── src/
│ └── app.ts
├── public/
│ ├── demo.txt
└── tsconfig.json
Trong thư mục public tạo file demo.txt với nội dung: Hello World
Bước 7: Thêm script chạy trong package.json
Thêm các đoạn sau vào package.json để chạy app dễ dàng:
"dev": "nodemon src/app.ts --legacy-watch"Bước 8: Chạy thử ứng dụng
-
Chạy
npm run dev -
Mở trình duyệt và truy cập
http://localhost:4000 -
Truy cập thử file tĩnh ví dụ:
http://localhost:4000/demo.txt
Chúc các bạn thành công!

